When it comes to protecting your home from the elements, every component of your roof plays a pivotal role. Among these, one often overlooked hero is the roof boot. This small but mighty component is crucial in preventing water damage, a nightmare for any homeowner. In this guide, we’ll dive deep into the world of roof boots, covering everything from installation to repair. Whether you’re a seasoned DIY enthusiast or simply looking to be more informed about your home’s roofing system, this post will equip you with the knowledge you need.
Understanding Roof Boots
What Is a Roof Boot?
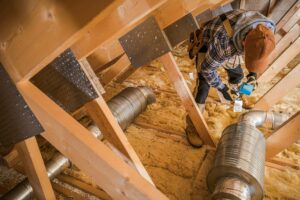
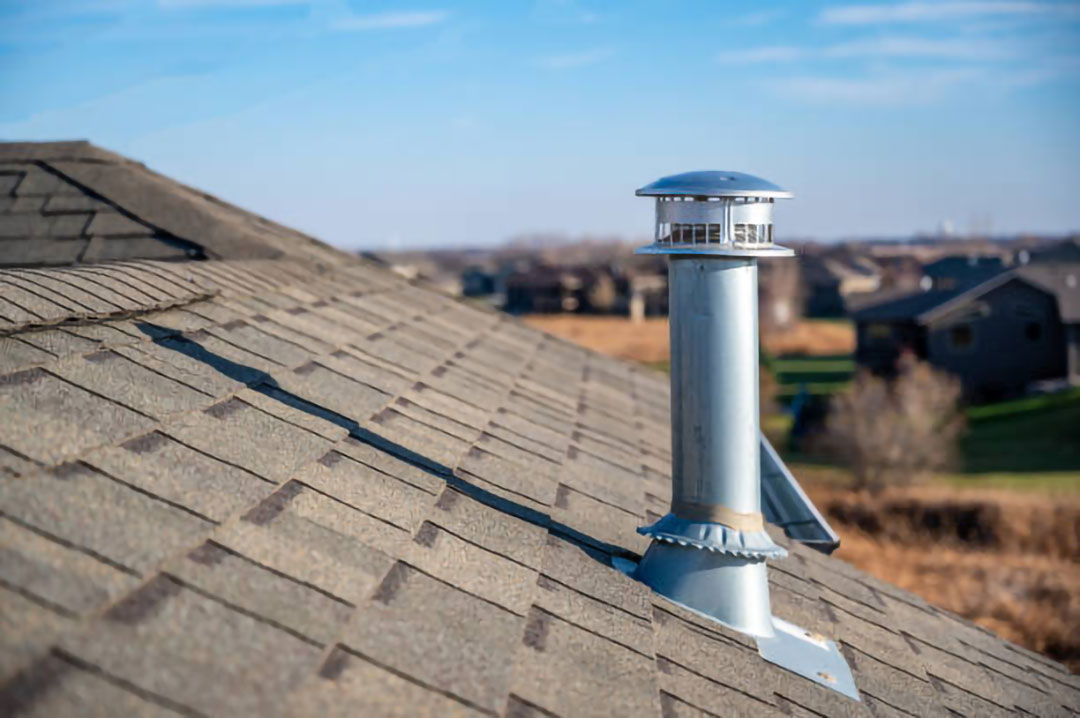
A roof boot is a sealing component designed to wrap around penetrations through your roof, such as vent pipes, to prevent water from seeping into your home. These boots are typically made from rubber, plastic, or metal and are engineered to withstand the harsh elements.
The Purpose of Roof Boots
The primary role of a roof boot is to create a watertight seal around the base of vent pipes or other roof penetrations. This prevents rainwater and melting snow from entering your home, which could lead to mold, rot, and other water damage.
Types of Roof Boots
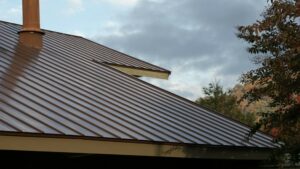
There are several types of roof boots, each suited to different materials and roof designs. The most common include rubber boots, which offer flexibility and durability, and metal boots, known for their longevity and resistance to extreme weather conditions.
The Importance of Proper Roof Boot Installation
Preventing Water Ingress
The key to preventing water damage lies in the proper installation of roof boots. A correctly installed roof boot acts as a barrier, stopping water in its tracks and directing it away from vulnerable areas of your roof.
Step-by-Step Installation Overview
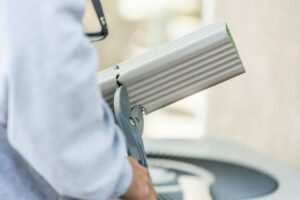
- Choosing the Right Roof Boot: The first step in installation is selecting the right size and material for your roof and vent type. This ensures a snug fit and optimal protection.
- Preparation: Before installing a new roof boot, it’s crucial to prepare the area. This includes removing any old sealant, cleaning the surface, and ensuring the vent pipe is in good condition.
- Installation: The roof boot is then placed over the vent pipe, and the base is secured to the roof with nails or screws. Special attention must be paid to sealing the edges with roofing cement to ensure a watertight seal.
- Common Mistakes: One of the most common mistakes in roof boot installation is failing to seal the edges properly, which can lead to leaks. Another mistake is using a boot that doesn’t fit the vent pipe correctly, compromising the seal.
Detecting and Addressing Roof Boot Failures
Signs of Failure
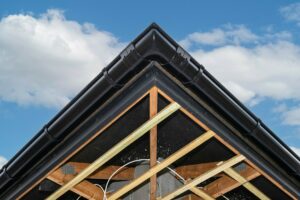
Regular inspections are key to identifying potential roof boot failures before they lead to water damage. Signs to look for include cracked or deteriorated rubber, loose or missing nails, and visible gaps between the boot and the roof surface.
Consequences of Neglect
Ignoring damaged or worn-out roof boots can lead to serious water damage, including leaks, mold growth, and structural damage to your home. Early detection and repair can save you from costly repairs down the line.
DIY Inspection Tips
Performing regular inspections can help you spot early signs of wear or damage. Look for any physical damage to the boot, signs of water leakage around the area, and ensure the sealant is intact and not showing signs of wear.
Roof Boot Repair Strategies
When to Repair vs. Replace
If the damage to your roof boot is minor, such as small cracks or gaps, a simple repair may suffice. However, if the boot is severely damaged or deteriorated, replacement is the best course of action.
Preventive Measures and Regular Maintenance
Inspection Checklist
- Check the condition of all roof boots annually, especially after extreme weather conditions.
- Inspect for signs of wear around the base, such as cracks or fading.
- Ensure the sealant around the boot is intact and not peeling away.
Maintenance Tips
- Keep the area around them clear of debris, such as leaves and twigs, to prevent water pooling.
- Reapply sealant as needed to maintain a watertight seal.
- Consider having a professional roofing inspection every few years to assess the condition of your roofing components.
Conclusion
Roof boots may be small components of your roofing system, but their role in preventing water damage is immense. Proper installation, regular inspections, and timely repairs are key to ensuring these critical elements continue to protect your home from water ingress. By following the guidance provided in this blog, you can help extend the life of your component and, by extension, the overall health and longevity of your roof.